Extractor Fan Advice

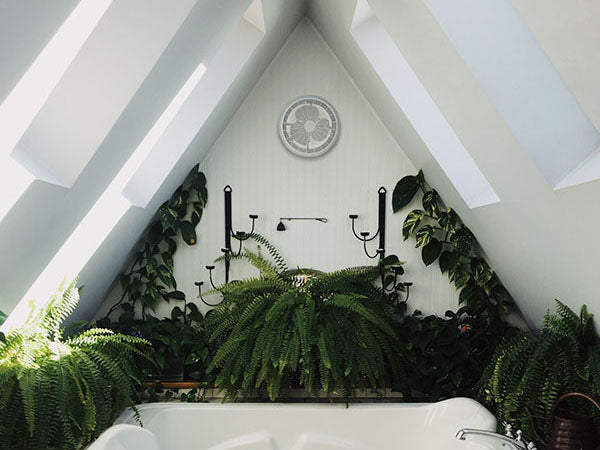
You may want to consider an extractor fan in your bathroom, especially if you don’t have any natural ventilation. These can be used as ceiling or wall fittings depending on your application. Extractor fans assist with reducing condensation and prevent mould, which helps extend the life of your bathroom as well as keeping odours away.

We would highly recommend using your extractor on a separate switch as these can be noisy when trying to relax in a calm and dimmed bath.

Calculations

Bathroom and toilets generally require 20 air changes per hour. To calculate the recommended extractor fan for your size bathroom, use the formula below.

Calculate the volume of the required room in cubic meters (m3) by multiplying the e.g. 2m length x 2m width x 2.7 height = 10.8m3 x 20 air change per hour required = 216 extract capacity m3 per hour.

Features to look for when purchasing an extractor fan are ball bearing: low noise operation, powerful long-life motor, easy to clean removable grill and warranty.

Installation Instructions

1. Electrical wiring is to be carried out by a licensed electrical contractor.
2. Before cutting the hole in the ceiling check that there are no ceiling joists (battens) etc. or electrical wiring above the desired mounting location.
3. The extractor fan must be installed so that the blades are more than 2.1 metres above the floor (therefore you cannot install a ceiling extractor fan on a ceiling lower than 2.1 metres)
4. A minimum of 500mm clear space above the extractor fan is necessary.
5. Do not install this extractor fan in canopies over stoves etc. as excessive heat will damage the unit.
6. A template is provided on the box for easy cut out.
7. Ensure that the 3 pin power socket is installed in the ceiling close to the mounting hole.
8. Remove the grill when installing the ceiling extractor fan.

How To Clean An Extractor Fan

The front grill must be removed and cleaned periodically, otherwise the build-up of grease, dust and lint etc. will reduce the efficiency of the fan.

Remove the grill by pulling where indicated then wash in warm detergent water. The use of a small brush will also assist.
The grill is not suitable for cleaning in the dishwasher.
Do not use solvents such as paint thinners etc. to clean the grill.
Wipe the surfaces of the fan blades with a cloth soaked in warm soapy water.
Dry and replace the grill by snapping it in place.
Do not immerse the motor in any liquid as this will result in a damaged motor.

Blog posts

View all
Installing String Lights

Installing String Lights

Transforming your space with string lights is one of the easiest ways to add charm, warmth, and a magical touch to your home or outdoor area. Whether you're looking to illuminate a patio for cozy e...

Outdoor Wall Lights

Outdoor Wall Lights

Outdoor wall lighting can transform the look and feel of your homes' exterior while improving safety, visibility, and curb appeal. Whether lighting a pathway, framing a doorway, or accentuating you...

Uplighting to Highlight Trees

Uplighting to Highlight Trees

Outdoor wall lighting can transform the look and feel of your homes' exterior while improving safety, visibility, and curb appeal. Whether lighting a pathway, framing a doorway, or accentuating you...

Poolside Lighting

Poolside Lighting

The right poolside lighting can transform your pool area into a beautiful, functional space for evening relaxation, entertaining, and safe swimming. By selecting the right types of lights and strat...

Summer Outdoor Lighting

Summer Outdoor Lighting

With summer comes longer days and warmer nights, making it the ideal season to enjoy your outdoor spaces well into the evening. Thoughtfully planned outdoor lighting enhances the beauty of your gar...

Maintaining Outdoor Lights

Maintaining Outdoor Lights

Outdoor lighting brings life to your garden, patio, and pathways, making these spaces welcoming and usable even after dark. However, maintaining outdoor lights is crucial to keep them performing we...